First, Gratuitious Darling Grandson Picture! Here he is after nap time sharing the Birthday Cookie Bouquet with his Mama.
I was looking on the internet on how to make a Drawstring Bag using both a serger and a sewing machine and I didn't find exactly what I was looking for so I decided to make one and take Step-by-Step pictures and put my own tutorial up on my blog. So Here Goes!
Drawstring Bag Using Serger and Sewing Machine
All it takes is: 1 piece of fabric, 6 lines of serging, and 2 lines of sewing. Pretty Quick!
Materials:
12.5 x 26.5 inch piece of fabric, I used some 100% cotton print
Scissors
Thread
Hem Gauge or Ruler
Fray Check
1 yard Ribbon or Cord (1/4 to 5/8 inch wide)
Marking Pencil or Pen (or regular pen in a pinch)
Cutting mat (optional)
Rotary Cutter (optional)
Pinking Shears (optional)
Pony Beads (optional)
Step 1: Remove Selvage Edge on Fabric if needed.
Step 2: Cut Fabric to 12.5 inches by 26.5 inches - print on fabric should be bi-directional since we are going to fold it for the bag.
Step 3: Serge both 12.5 inch edges. Trim thread.
Step 4: Make 4 notches on long edges of fabric. Fold in half longway with right sides facing each other (or hamburger, if you know that term), and notch 1/2 inch in and 2.5 inces down from the serged edges.
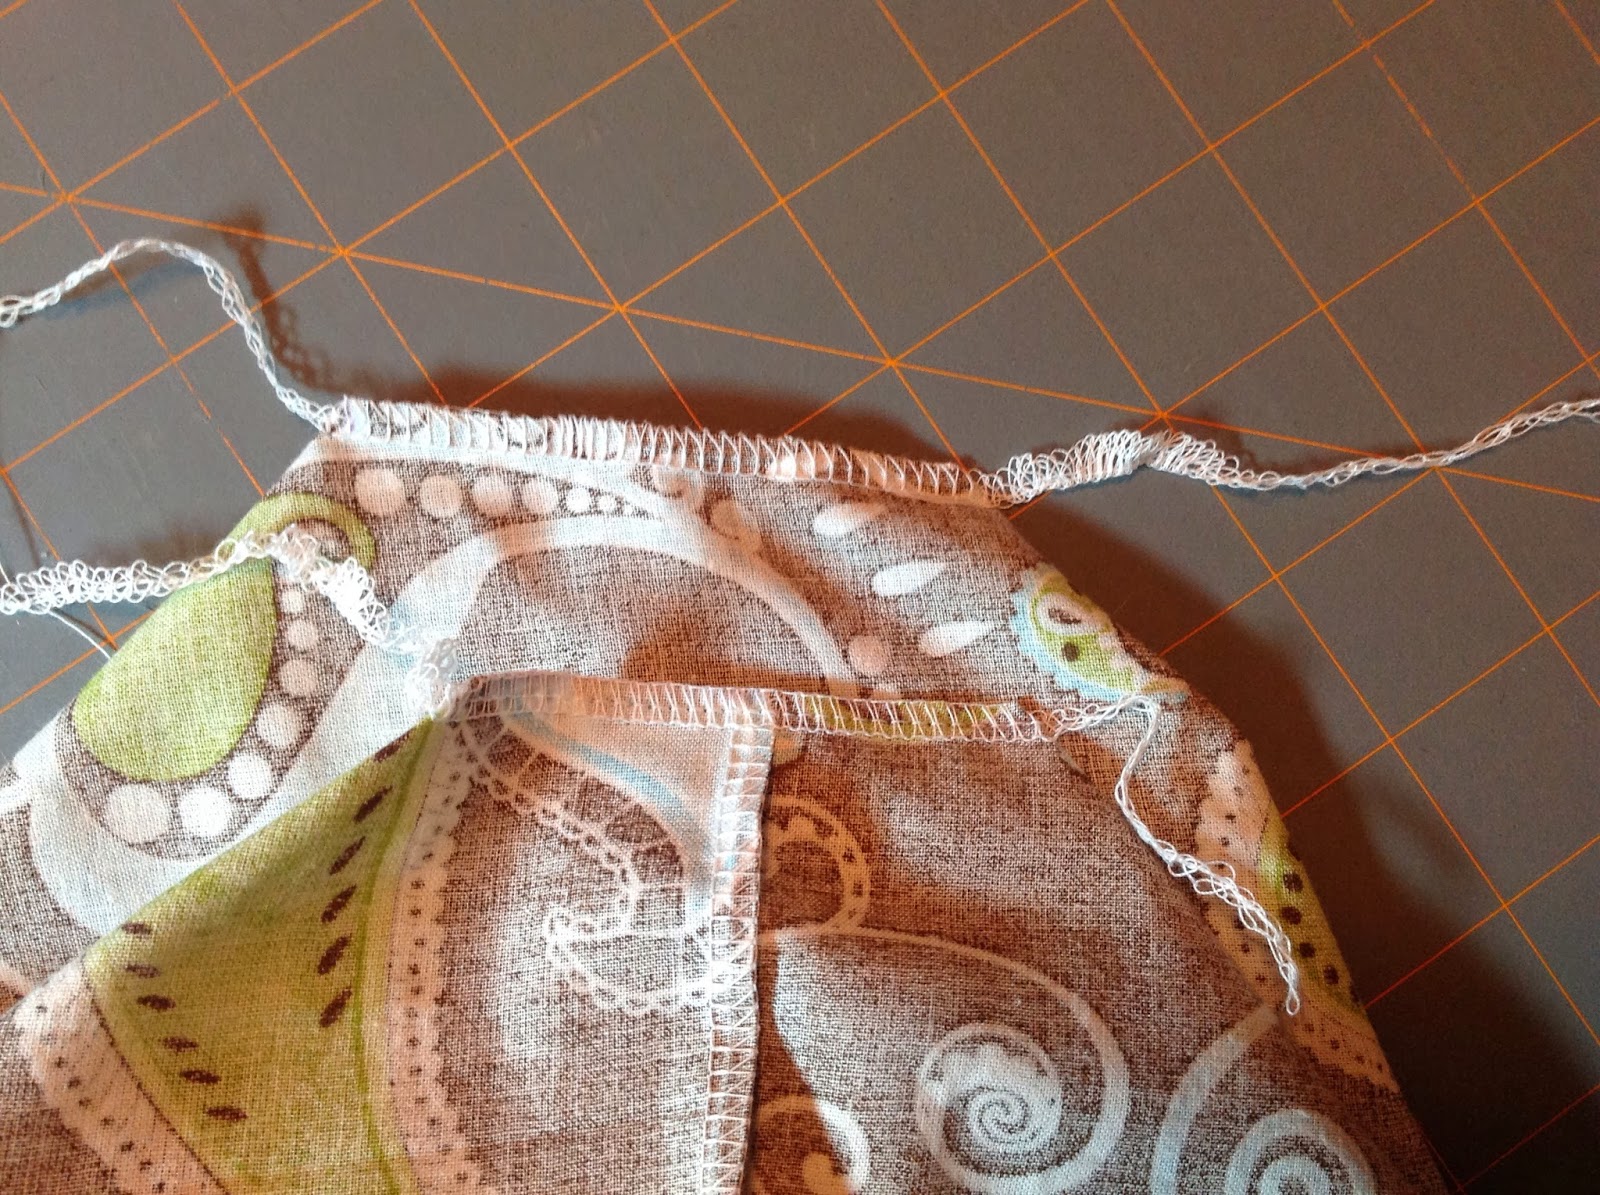
Step 5: Fold in 1/2 inch tabs at the top and pin out of the way for serging.
Step 6: Serge the 2 long sides using the 1/2 inch mark on your serger. Trim thread.
Step 7: Pink edges of 4 tabs if desired (I got new Pinking Shears for Christmas from my Brother and Sister-in-law, so it was a good opportunity to use).
Step 8: Fold down 12.5 inch serged edge toward the wrong side about 3/8 to 1/2 inch keeping the tab tucked in, press or pin. I pinned since my iron wasn't out and I'm a bit lazy.
Step 9: Fold top edge over again toward wrong side so that fold from top edge to bottom folded edge is about 1 inch. Press or pin. I pinned.
This is how the sides look when both side "tubes" are pinned:
OR
Step 9 with Ribbon: (I recently learned this on the internet so you save time threading the ribbon in later) Fold top edge over again toward wrong side with ribbon inserted in the "tube" and the top edge to the bottom folded edge is about 1 inch. Make sure ribbon will slide back and forth (so you know you didn't pin it).
Step 10: With sewing machine, and wrong side facing, sew along bottom edge of "tube" very close to the bottom fold.
Repeat Steps 9 and 10 with other side.
If you want a flat bag you are done other than applying Fray Check, turning right side out and pressing.
If you want a bag that stands up:
Step 11: Fold bottom corner of bag into a point. Draw a line (I used my hem gauge and used a three inch line. Repeat for other bottom corner.
Step 12: Serge with edge along the marked lines on each bottom corner. Trim thread.
Step 13: Apply Fray Check to each side of corner serging. Make sure you place something under the item so the Fray Check doesn't get on your tabletop or cutting mat.
Step 14: Apply Fray Check to top of serged edge near the drawstring "tubes". Let dry. Turn right side out. Press for finished look. Bag measures 10" x 3.5" x 7. If unboxed bottom then 10" x 10".
Step 15: Optional. Thread Pony beads onto ribbon for decorative look.
So again - 1 piece of fabric, 6 lines of serging, and 2 lines of sewing. Pretty Quick!
Link to .PDF file


No comments:
Post a Comment